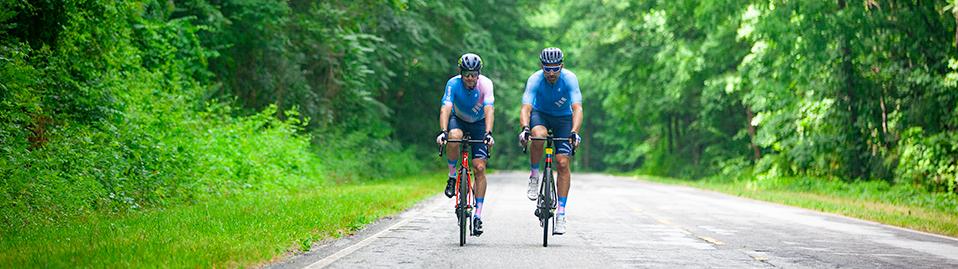


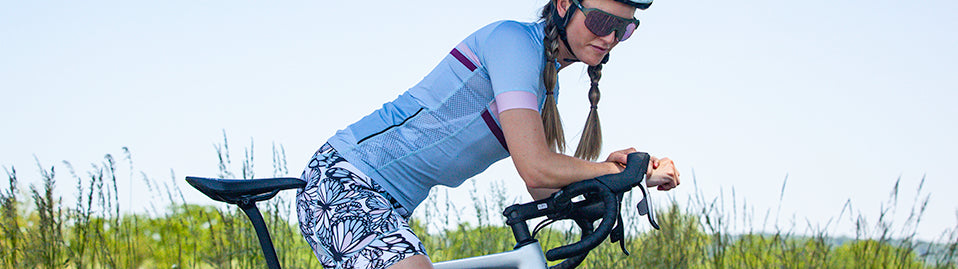


When shopping for a new bike, sizing it properly should be the highest priority for beginners and experienced cyclists. Your new bike should respond to your position and movements smoothly as you ride. It should help you improve your cycling technique and achieve new goals, but a bike that doesn’t fit works against you. It can hinder performance and causes discomfort that could result in injuries. Finding the best bike fit means more than measuring the correct frame size—it also means the entire bike geometry fits well too. We want to spare you the headache of learning your bike is the wrong size the hard way after weeks or months of fatigue and frustration. In this guide, we’ll give you all the information needed to measure a bike frame size and become a bike fitting guru or to find a professional bike fitter who can create your customized fit.
How are road bikes measured?
Bikes are sized according to their frames. A bike frame includes the top tube, head tube, down tube, seat tube, chain stay, and seat stay. Frame size is measured by the length of a bike’s seat tube—from the top of the seat tube to the center of the bottom bracket. Some manufacturers measure the full length of the seat tube, while others measure mid-way up the seat tube, so keep in mind that these measurements aren’t consistent as you’re comparing different bikes.

The length of a bike’s top tube is another indicator of how a particular size bike will fit. This measurement tells you how far you will have to lean to reach the handlebars. The top tube spans the distance between the head tube (connected to the handlebars) and the seat tube (connected to the saddle). Even if the top tube is slanted, it is measured as if it were completely straight. If your bike’s top tube is too long, you may reach forward too far and strain your neck, shoulders, and back. If it’s too short, you’ll be scrunched in the saddle and lose pedaling efficiency.
How long a top tube should be will vary by discipline or riding style. An aerodynamic position makes a long top tube necessary, but a short top tube creates a more upright position that’s better for long, relaxed riding.
How to find the right bike frame size
The quick and simple way to find the right bike frame size is by measuring your height and inseam. With these measurements, you can find a corresponding size on a size chart like the one below. Bikes are often labeled with small, medium, or large sizes according to the size of their frame. But there are no universal standards to define these sizes, so it’s important to look at each manufacturer’s size chart to know what size bike you’d need in a particular model.
If you fall between two sizes, size down. It’s easier for a bike that’s slightly too small to be adjusted up than it is for a large bike to be made smaller.
Road bike size chart
| Rider Height (cm) | Rider Inseam (cm) | Seat Tube Length (mm) | Suggested Bike Size |
| 149-155 | 64-66 | 340 | X-Small |
| 156-165 | 67-69 | 410 | Small |
| 166-175 | 70-76 | 490 | Medium |
| 176-185 | 77-83 | 520 | Large |
| 186-193 | 84-90 | 550 | X-Large |
| 194-198 | 91-95 | 590 | XX-Large |
Though you could decide what size bike you need based solely on a size chart, you’re more likely to get the most precise and comfortable fit if you consider additional measurements that bike manufacturers usually note in product details.
How to find standover height
Standover height is another important measurement when sizing a bike. It indicates how tall your bike needs to be so your feet can still reach the ground when seated. On a bike, the standover height extends from the ground to the top tube. To know if a certain height will work for you,
- Put your cycling shoes on and step over the bike frame with one leg so that the frame is centered between your legs.
- Then, measure the space between your inseam and the bike’s top tube. 1–2 inches of space is best.
If you’re ordering online and don’t have a bike available to measure, you can still find the ideal standover height for your bike by adding 1–2 inches added to your inseam measurement.
How to measure reach and stack for bike size
Reach and stack are two of the most reliable measurements for finding bike size because they are not dependent on the frame design and don’t vary by manufacturer. Unlike seat tube length, stack and reach tell you about your riding position.
Reach is the horizontal length of the bike frame from the center of the bottom bracket to the center of the head tube. It tells you how far you will have to lean to reach the handlebars.
Stack is the vertical length of the bike frame from the center of the bottom bracket to the center of the head tube.
If you were to draw a straight line upward from the center of the bottom bracket and stop at the middle of the head tube and then draw another line starting at the middle of the head tube and extending downward and stop at the center of the bottom bracket, you could easily see the horizontal length between the two lines that need to be measured.
Stack would be depicted by the first vertical line drawn. So stack and reach would touch and form a 90-degree angle and a triangle with the down tube as the base.


The best reach or stack measurements for you depend on your discipline. If you want to ride in a more aerodynamic position, you’ll probably want a bike with a longer reach. Recreational cyclists will likely prefer a shorter reach, putting them in a more upright, relaxed position.
To measure stack
- Lean bike against a wall so that it’s upright and in a corner so that you have a flat surface to extend the measuring tape from horizontally.
- To measure the stack, extend a measuring tape from the floor to the middle of the top tube and record the measurement.
- Then, measure from the floor to the center of the bottom bracket and record the measurement.
- Subtract the smaller distance from the larger one to calculate the stack measurement in mm.
To measure reach
- To measure reach, extend the tape measure horizontally from the end wall to the middle of the head tube.
- Then, measure from the same end wall to the center of the bottom bracket.
- Subtract the smaller number from the larger to calculate the reach measurement in mm.
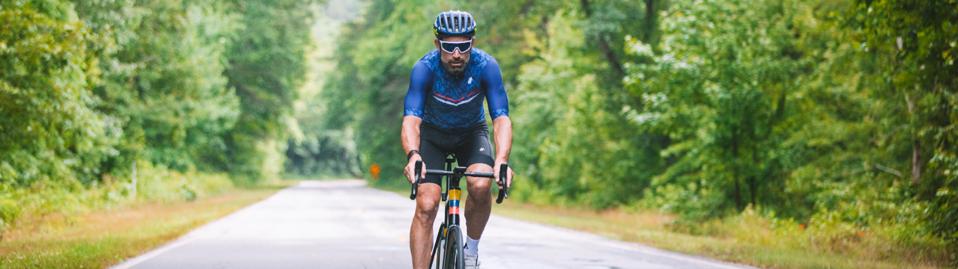
Why is getting the right bike frame size and fit important?
Finding your best bike size and fit will make you a faster, more efficient, and less injury-prone cyclist compared to riding a poorly sized or poorly fitted bike. Not to mention, you will feel more comfortable, and cycling will start to feel more natural. Finding bike size comes first and is fundamental to selecting a suitable bike. But you shouldn’t stop there–the next step is to fit your bike to your body’s specifications for the best performance and greatest comfort in the saddle. Even adjusting small details on your bike can significantly improve your experience on the road. Along with finding frame size, your bike needs to be well-fitted to all contact points–the saddle, handlebars, and cleats.
Disadvantages of an improperly sized bike frame
An improperly sized bike frame impacts your comfort and control over your bike. If your bike doesn’t fit you well, then it won’t corporate as seamlessly with you as you adjust speed, turn corners, or increase elevation. This results in greater fatigue due to the greater effort your body must exert because your bike isn’t sized well. Your body will also begin to overcompensate and increase pressure on your wrists and strain your legs and lower back. Less control over your bike and greater fatigue increase your chances of an accident.
How to know if your bike frame is too small or too big
The way your bike feels and the way you look on your bike can give clues that your bike may not be the right size. If your bike is too small, you’ll feel less stable or less in control of your bike’s movement, especially when riding fast. Your joints will begin to feel achy from being cramped up, and your weight will be unbalanced with more weight toward the front of the bike. If your bike is too large, you’ll notice that your reach feels strained and your hands ache from gripping the handlebars tightly to maintain control.
You might also notice your arms are outstretched like a superhero if your bike is too long or that your knees are hitting the handlebars if it’s too short. If you feel like you can’t ever get your position far enough forward or backward, or that you can’t get your seat post high enough, you need a new bike size. Your front hub should also be partially hidden by your handlebars when cycling, so if you can see it over the handlebars, you’ll need to either adjust your seat position or get a new bike size.
Women’s road bike sizing and fit
Generally, women have a shorter reach, narrower shoulders, smaller hands, and a smaller frame than male cyclists, but not all cyclists would say that women need bikes sized differently for them. On one hand, a woman can use a unisex bike and just choose a smaller size based on her height and inseam or reach and stack measurements and then adjust the fit to her frame. Alternatively, some cyclists believe that women need bikes designed according to women-specific sizing.
There are benefits to both choices. If a woman uses a unisex bike, adjusting it to fit her well is possible. You can reduce crank length for shorter legs, choose a new saddle for wider sit bones, and make adjustments to reduce the length of the frame. This gives you many more bike options to choose from. But you may have fewer adjustments to make with a female-specific bike, and you likely won’t have to replace the saddle or handlebars, which can be expensive.
Ultimately, the best option for you comes down to personal preference. But with either option, keep in mind that some manufacturers have different size charts for men and women. So a man’s size small would not be equivalent to a women’s small for some models.
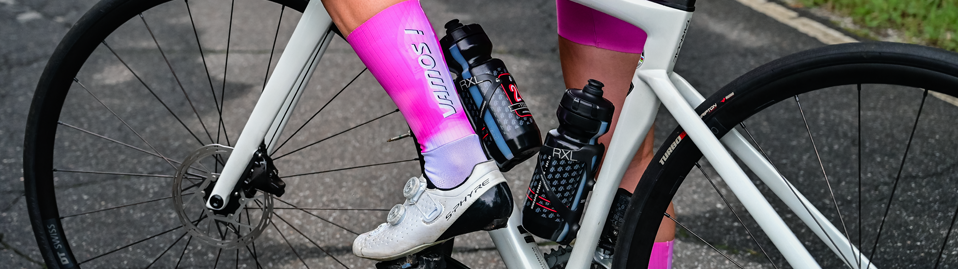
It is important, however, to make sure you wear cycling shorts with a women-specific chamois, designed to fit the female form closely and provide optimal comfort while riding a bike. Your chamois is more often the culprit of discomfort in the saddle than the saddle position or the saddle itself. Choose from our list of 10 of the Best Padded Bike Shorts for Women or shop all women’s cycling shorts and bibs.
How to adjust your bike fit
There are many ways you can customize your bike fit to improve your performance, comfort, and agility. Here are just 4 types of DIY adjustments you can make.
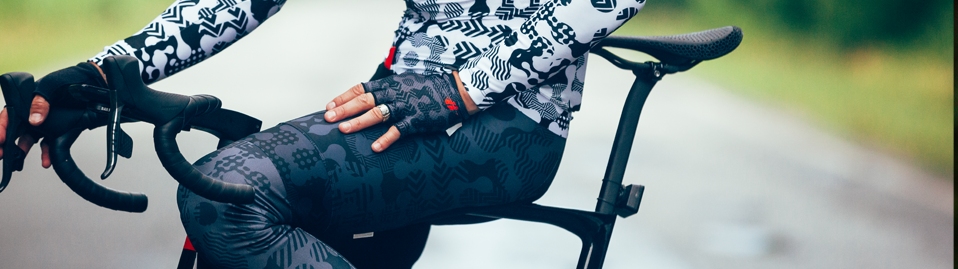
1. Adjust your bike saddle fore/aft position
The saddle’s fore/aft position is how far forward (fore) or back (aft) the saddle is positioned from the handlebars. The position of your saddle affects your balance and power. You might need to adjust the fore/aft position if you notice knee pain from being scrunched too close or stretched too far. You might also need to adjust this position if your shoulders, arms, or hands are in pain from over-straining the upper body. If your saddle is too far back, you won’t have enough power on climbs, and your pedaling will be less efficient.
The acronym KOPS (Knee Over Pedal Spindle) is used to describe the ideal saddle position.
You can make sure your saddle is in the best position with the following test:
- Find a friend to help you check your saddle position as you pedal on a stationary bike.
- Get your right foot in the three o’clock and your left foot in nine 0’clock pedal stroke position.
- Drop a string with a plumb at the end over the kneecap of your forward-pedaling knee.
- If your saddle position is ideal, the plumb should intersect the pedal spindle.
- If it’s too far forward, slide your saddle back.
- If it’s too far back, slide your saddle forward.
2. Adjust your bike saddle height
This simple adjustment is not insignificant. It can do a lot to increase your cycling power. Improving your cycling power helps you pedal more efficiently and avoid injuring yourself. If your body bends too much, then your saddle might be too low. If you’re over-stretched, the saddle might be too high. But to find out for sure if the saddle is or is not in the right spot, you can use the LeMond Method to find your ideal saddle height.
- Find your inseam with a measuring tape.
- Multiply your inseam by .883.
- This calculation tells you what the distance between the bottom bracket and the top of the saddle should be.
If you notice that your leg is completely straight at the bottom of a pedal cycle, you need to lower your saddle slightly. Your leg should have some bend in it if you have the proper saddle position.
Learn how to measure your sit-bone width to make sure you choose the right saddle size or choose a great saddle from our list of 10 of the Best Road Bike Saddles.
3. Adjust your handlebars
You can adjust some aspects of your handlebars but only slightly, and they can be swapped but not easily, so you’ll want to make sure you size handlebars properly before choosing a bike. Ideally, your handlebars should fit between your shoulder blades. You’ll want to make sure you’ve sized your handlebar reach properly before purchasing a bike. Otherwise, the only way to fix your handlebars when reach is the issue is by replacing the stem entirely.
How can you make sure you have the correct handlebar reach? Sit on your bike with your hands in a neutral position. With the help of a friend, drop a plumb line from the tip of your nose. The plumb should fall one inch in front of the middle of the handlebars. You can also use the height of your saddle to determine if you have the correct handlebar height. Your saddle should be 1–4 inches higher than your handlebar.
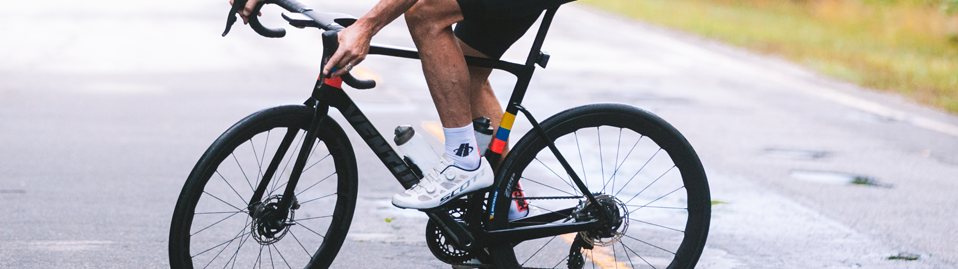
4. Fit your cleats properly
Your feet exert a lot of effort to keep you moving, and misalignment of your cleats can create achy joints throughout the whole body. Buying well-fitted cleats that align with your pedals is essential. To check the angle of your foot, sit on the edge of a tall chair or table and notice whether your feet turn in or out. You want your feet to sit in their natural position on the pedals. You don’t want to force them into an unnatural position that creates extra strain on the body. Dial in the angle of your cleats according to their natural resting position. Locate the widest, bony part of your foot (the first and fifth metatarsals) and mark the center of them. Align the cleats with the center point you marked.
Learn how to size your cycling shoes properly or choose shoes from our list of 10 Best Cycling Shoes for Road Bike Riders.
A professional bike fit vs. a DIY bike fit–which is better?
There’s a lot you can do on your own to improve your bike fit, and sometimes it may be worthwhile and enjoyable, especially if what’s bothering you is a minor adjustment that doesn’t cause much pain. But there are certain adjustments and insights only a professional bike fitter can provide, and once and a while, it’s worth paying more for a custom bike fit.
Pros and cons of a DIY bike fit
A DIY bike fitting is possible, and it can be fun taking on the challenge, and you’ll likely learn more about the mechanics of riding as you go and deepen your cycling expertise. Doing a DIY bike fit doesn’t cost a dime–that’s a huge perk. But it does take a lot of time and can be very complex and frustrating if you don’t get it quite right. A DIY bike fit requires a lot of patience, but it also provides you the chance to learn and become an expert bike fitter yourself. But, if you are experiencing pain while riding and have been for a while, you are likely at risk for an injury. In this case, it may be best to go to a professional who can pinpoint the problem and understands exactly what needs to be fixed.
Pros and cons of a professional bike fit
As handy as it is to be able to make adjustments to your bike on your own, there are certain insights only a professional can provide. For beginner cyclists who want to become serious about the sport, it’s essential to go for a professional fitting. And over time, as your body changes with age, increased fitness, weight changes, and changes in flexibility, you’ll eventually want to have another professional fitting. However, these fittings aren’t cheap. They’re usually a couple of hundred dollars, but most cyclists find that the expense is well worth it.
Usually, professional fittings include an interview about your cycling history and goals, a physical assessment, and a session on the bike to analyze how your body moves in the saddle. A professional bike fitter can make assessments with much greater accuracy than someone without the tools, training, and knowledge of how the body operates on a bike that the pros have. A bike fitter will take your body’s flexibility, strength, mobility, and strength into account. If you’re working through an injury working with an expert who can get you back in the saddle while reducing the risk of another injury is a good idea. These fittings can take a couple of hours as the professional fitter asks questions, analyzes your cycling specifics, and makes adjustments. It may take some time for your body to adapt after a new fitting, so give yourself a few weeks to adapt to the new fit before taking on new challenges.
Once you’re ready to hit the road and tackle your goals with a new bike and a fresh fit, you can sign up for one of the best Grand Fondos in the USA and use our cycling training plan for beginners to get you in racing shape.
It’s also vital to make sure you have a great pair of bike shorts with a chamois that will aid your comfort and performance in the saddle. Use our Bike Shorts Sizing, Fit, & Style Guide to help you choose a great pair of shorts, or you can shop our collection of Hincapie cycling shorts.
You might also like:

